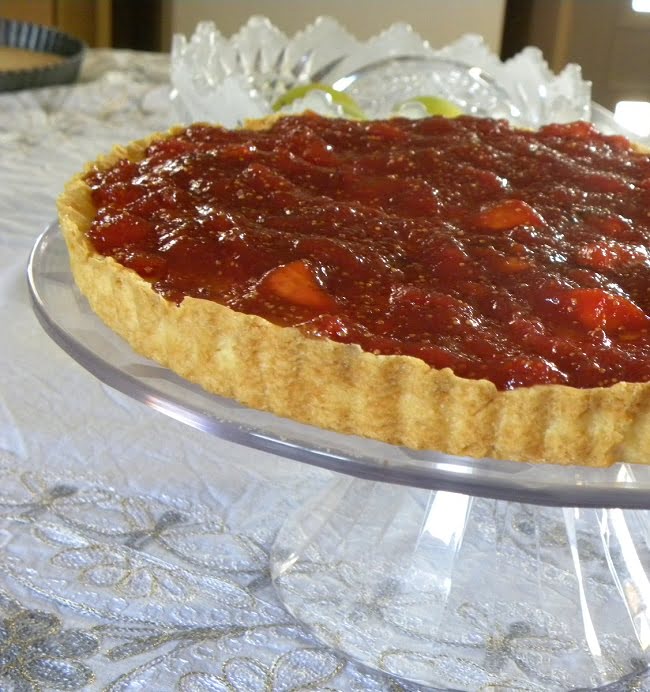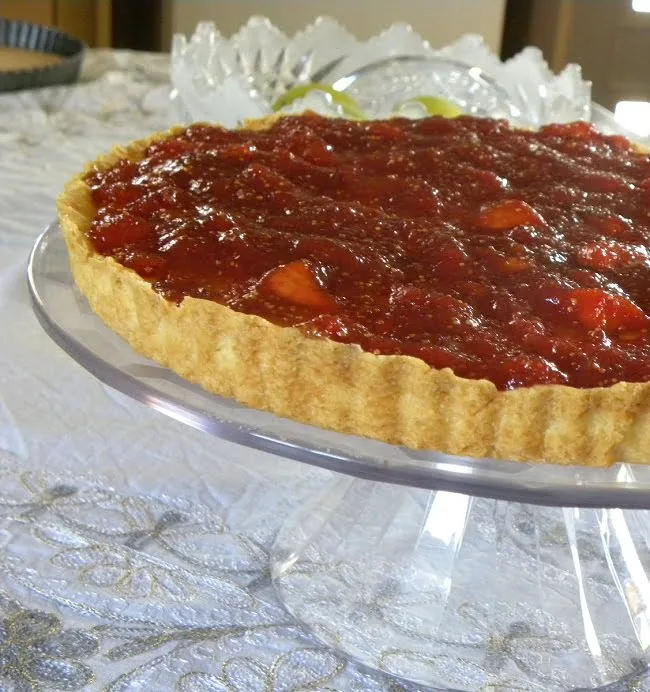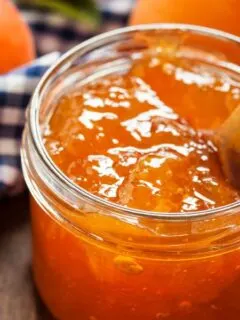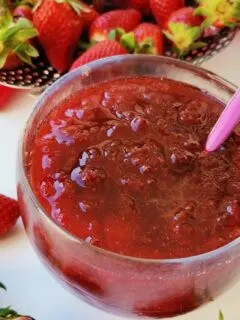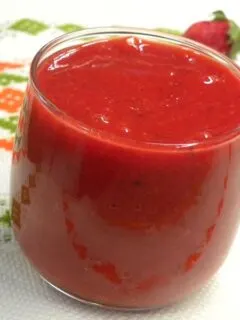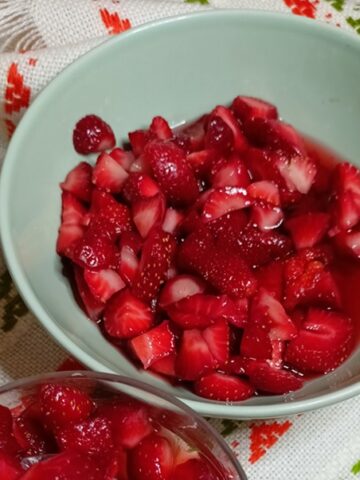

These Brandy-Infused Macerated Strawberries are the most simple Greek Dessert, made in 15 minutes with three simple ingredients: strawberries, sugar and brandy!

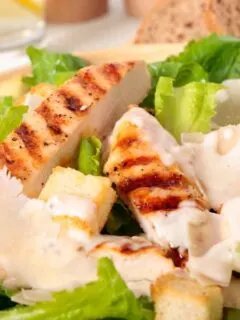
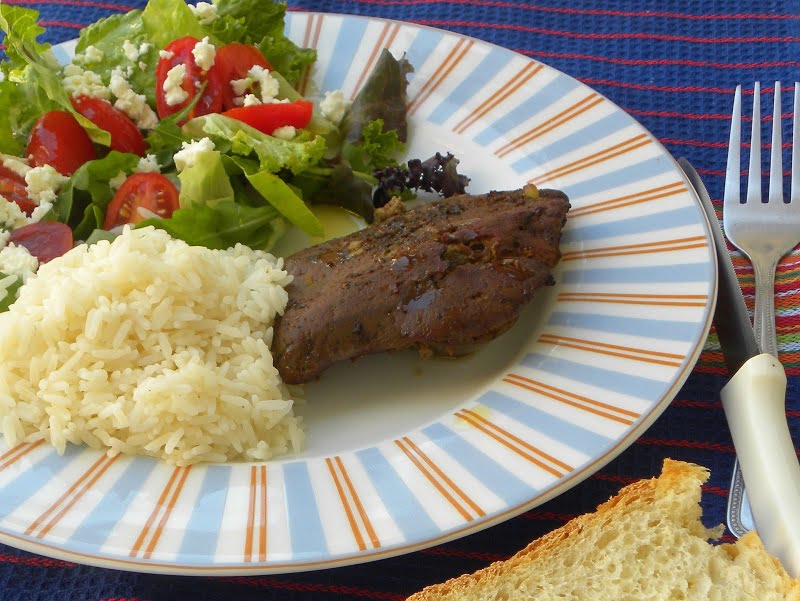
Elevate the timeless Caesar Salad to a hearty and fulfilling meal by introducing succulent grilled chicken.