
There’s nothing more satisfying than eating your own bread. To make this Cypriot bread, you need to use a ‘starter’ mixture that takes the place of yeast.
The starter takes a few days to develop, but once you make it the first time, you can keep it alive and use it whenever needed.
Bread is made the same all over the world, using flour, yeast (or sourdough), salt and water.
Remember this rule:
Bread ratio:
- 5 parts flour
- 3 parts liquid
- Salt, 2% of flour’s weigh
- 25% sourdough starter
To make Bread :
- 1 kilo flour
- 600 ml liquid
- 20 grams salt
- 25o grams young, ripe sourdough starter
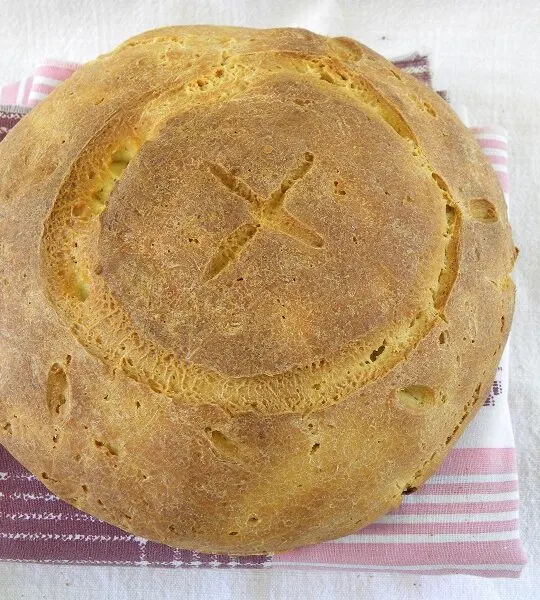
The difference in this Cypriot bread is the starter and the round scoring which characterizes its shape.
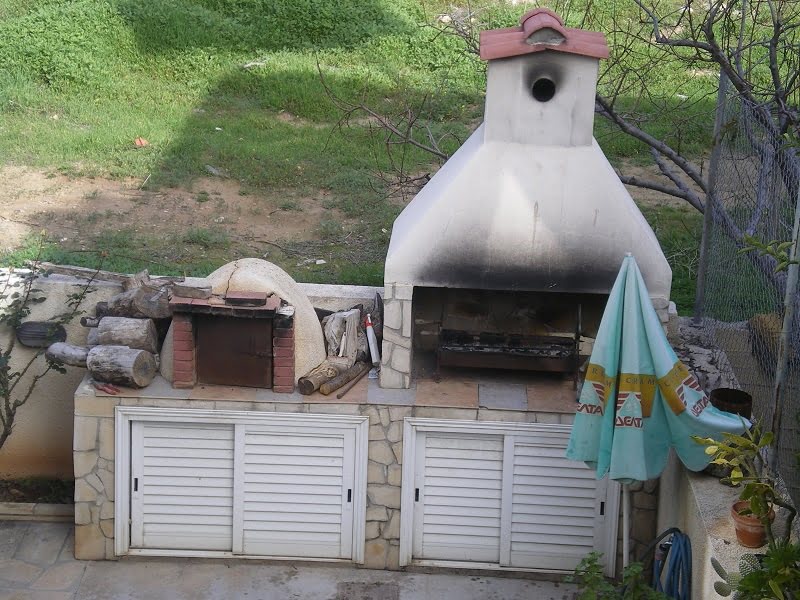
Making bread in a wood-fired oven is an experience you will never forget as it tastes so much better than gas or electric ovens.
In other European countries this may be extinct but in Cyprus, you can find one in most of the houses. The one in the picture is my sister’s oven in her back yard.
My dream is to make one in the near future. For the time being I am still day dreaming, whilst baking in my old oven 🙂

The first time I made this bread, although it was not very successful it still tasted better than store bought bread.
Making the sourdough starter (Prozymi)
Before you can make a loaf of sourdough bread, you need to make a sourdough starter.
In Greek, sourdough is called “Prozymi” (το προζύμι), προ + ζύμη meaning pro = before and zymi or zyme = dough. To make the starter, we have to leave it for some days to ferment.
I have been requested by a Cypriot friend, living in the United States, if I could post the recipe for Cypriot bread.
I have never made bread with my own starter (prozymi), so after asking my sister, who makes the bread in her above wood fired oven, I got some advice which hope will work.
The Greek traditional way of making it is by using “holy water” taken on the 14th of September (Feast of the Glorious Cross), from the church.
You can use tap water, if your water is without chemicals or better bottled water.
Experimenting
This is an experiment and I will be updating my post every day, so if you would like to try this yourself it’s up to you to risk making this starter or wait until I finally make the bread.
I shall be updating the chronicle below with notes and pictures.
During the first phase we use “warm” water which is just before boiling point. In the remaining phases we use lukewarm water.
If you have a thermometre, “lukewarm” generally means between 36.5 to 40.5 degrees Celsius (98 and 105 degrees Fahrenheit), otherwise you can test it the traditional Cypriot way:
Heat some water and test it regularly with your little finger, until you can keep your finger in the water and count upto 5.
You can use whatever bread flour you like to make the bread and starter.
Depending on the type of flour you will be using the amount of water to be added may be a little more or less.
The other thing I don’t know is how the starter will react in other climates.
The temperature in Greece for June is around 25 – 30 degrees C. If you see that the starter has not reacted you should leave it more days until it does, before proceeding to next phase.
Journal for making the starter
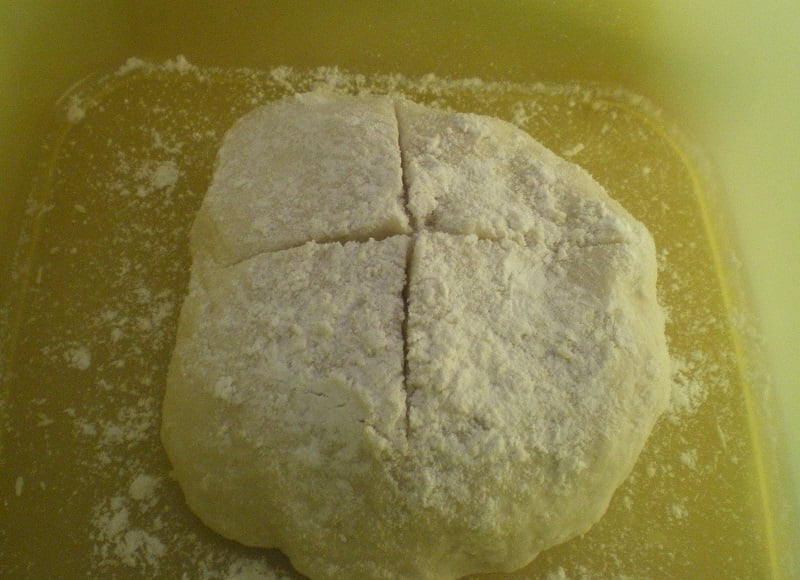
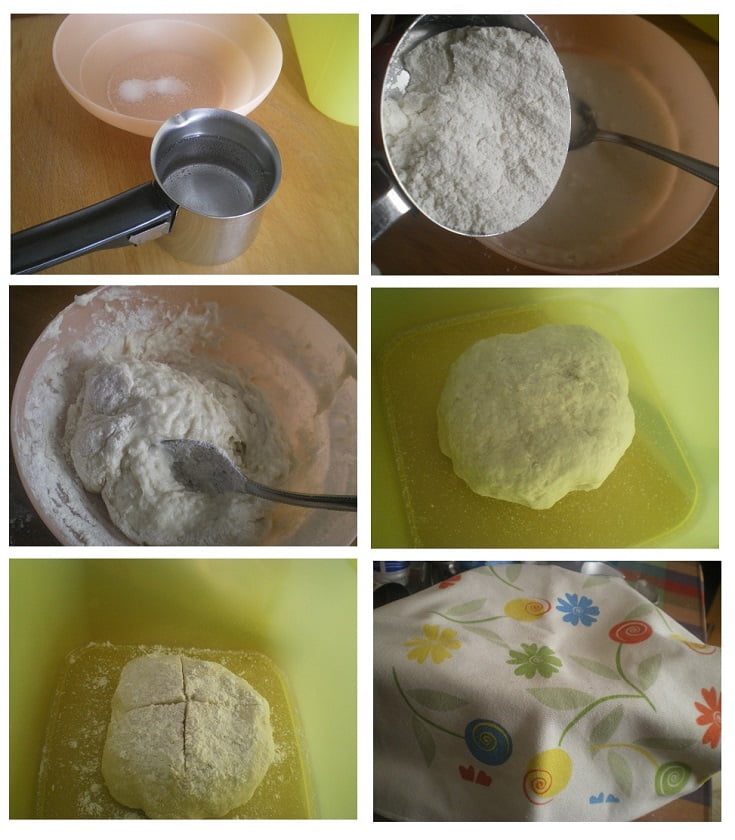
| Day 1 | ½ cup warm distilled water – add gradually about 170 grams bread flour and a pinch (1/8 tsp) of salt to make dough. Mix with a spoon until the consistency of batter and then using your hands make the dough, until it does not stick on your hands. Add some salt (1/8 tsp) in a bowl, place the dough and sprinkle some flour (2 grams) on top. Score dough, cover with a napkin and leave it on the counter until next phase. |
| Day 2 | No activity. |
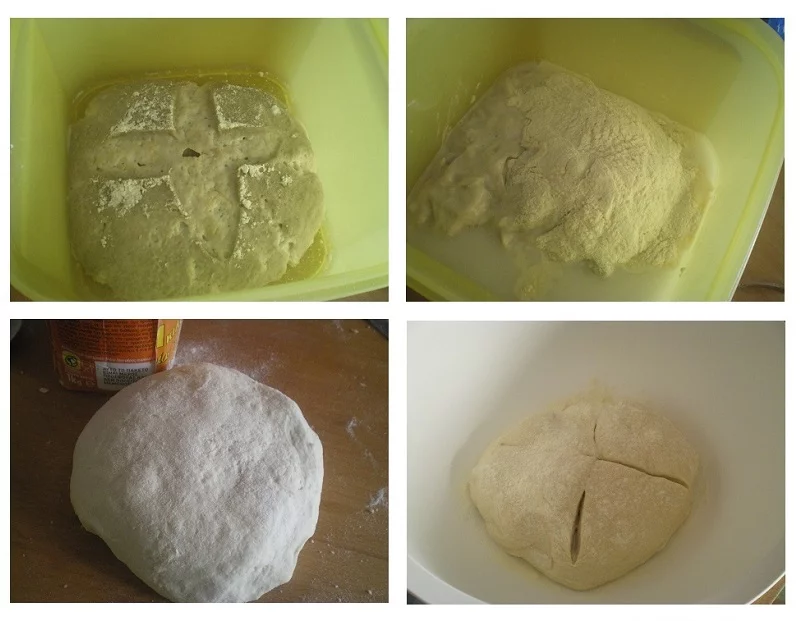
| Day 3 | Dissolve the starter with ½ cup lukewarm water. Add flour gradually and mix until you can transfer it to your working surface. Add more flour and knead until it does not stick on your hands. I added 220 grams of bread flour. I used a clean bowl and again I sprinkled 1/8 tsp salt and put the dough on top. I scored it, sprinkled a pinch of flour and covered it with cling film and a napkin. |
| Day 4 | No activity. |
| Day 5 | I repeated above procedure. I added 1/2 cup lukewarm, distilled water and mixed flour which was about 300 grams. I added salt to a clean bowl, scored the dough and sprinkled a pinch of flour on top. Yesterday, I noticed that the dough was already ready for feeding but I preferred to wait until today. If this continues I may speed up the procedure and feed it tomorrow. |
| Day 6 | As I stated yesterday, the dough was ready. I repeated the same procedure as previous day, adding 1/2 cup distilled lukewarm water and about 300 grams flour. |
| Day 7 | No activity. |
| Day 8 | No activity. |
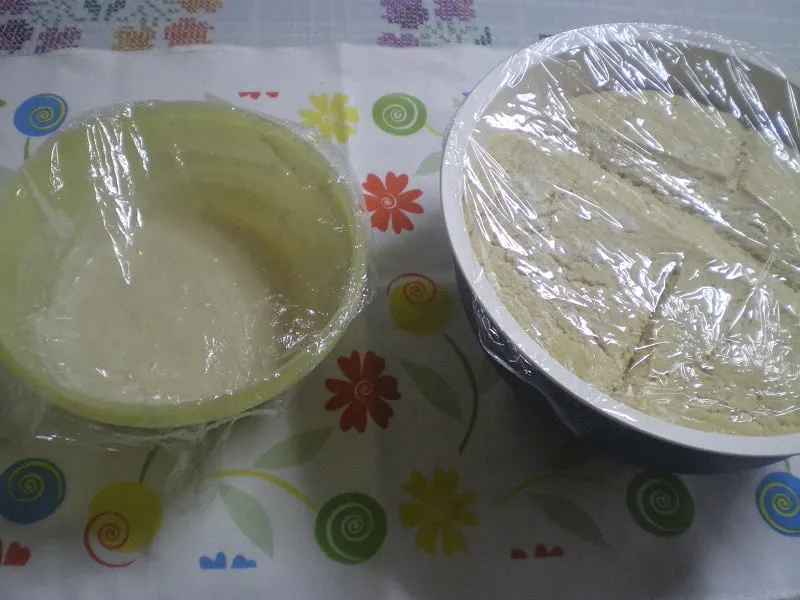
| Day 9 | Today I am testing it to see if the yeast works. I have added a little bit more than 1/2 cup lukewarm water and diluted the dough. (I have set aside about 1/2 cup batter, in which I added 1 tsp sugar, 2 tbsp bread flour and water to make a thick batter and waiting to see if it will react). In the remaining batter I have added about 200 grams bread flour and 1/4 tsp salt and prepared the dough as above. |
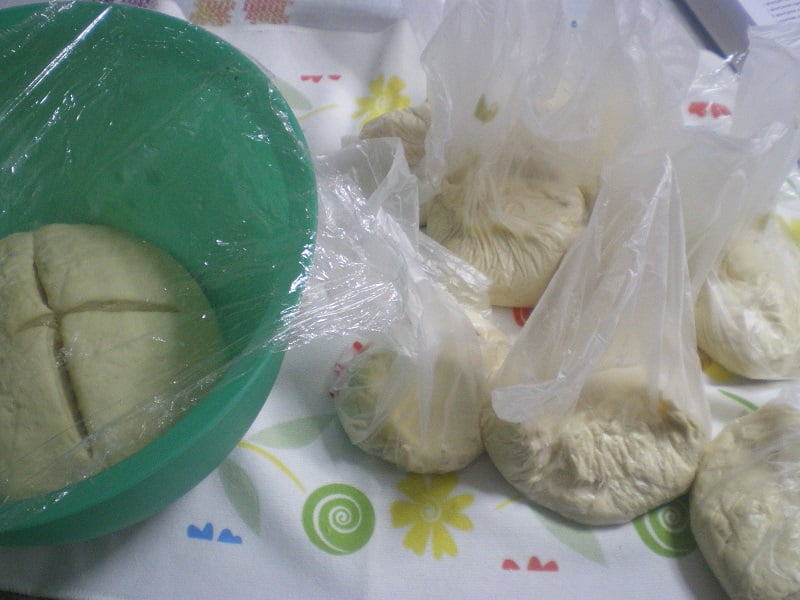
| Afternoon: | In the afternoon I saw that the yeast did not react although the dough did. I took a new piece of dough (about 100 grams) and mixed it with the previous one. In the bowl of the mixer I added bread flour, a pinch of salt and 1/2 tsp sugar as well as dissolved new and previous yeast. Then I added enough lukewarm water to make the bread (less than half a cup water to 525 grams flour). I divided the remaining dough into 9 equal parts, placed each one in a plastic bag and stored them in the deep freezer. Each time I want to make bread, I will thaw one of these pieces of dough as my starter. The bread dough was left to rise until the following morning. |
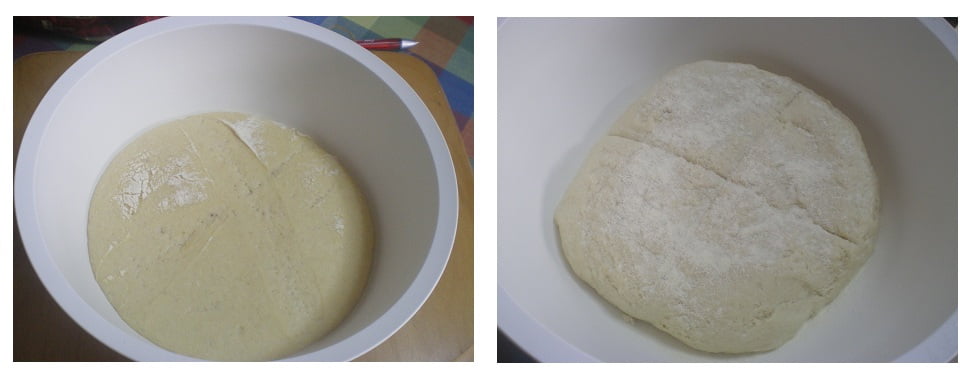
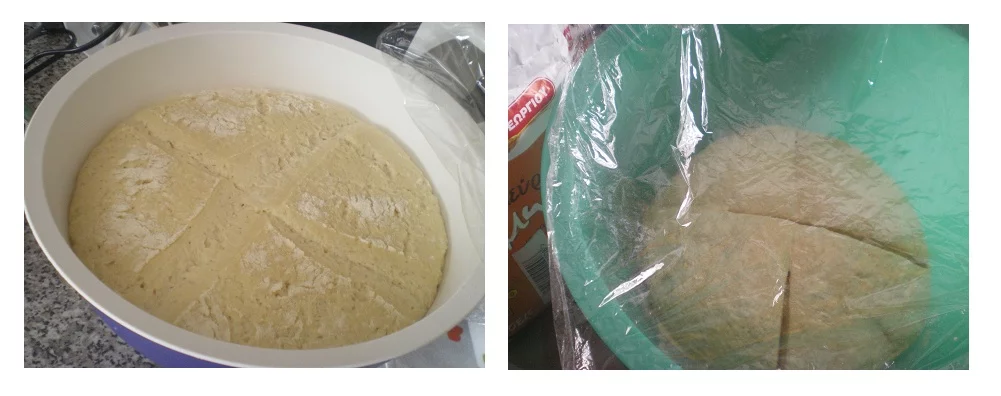
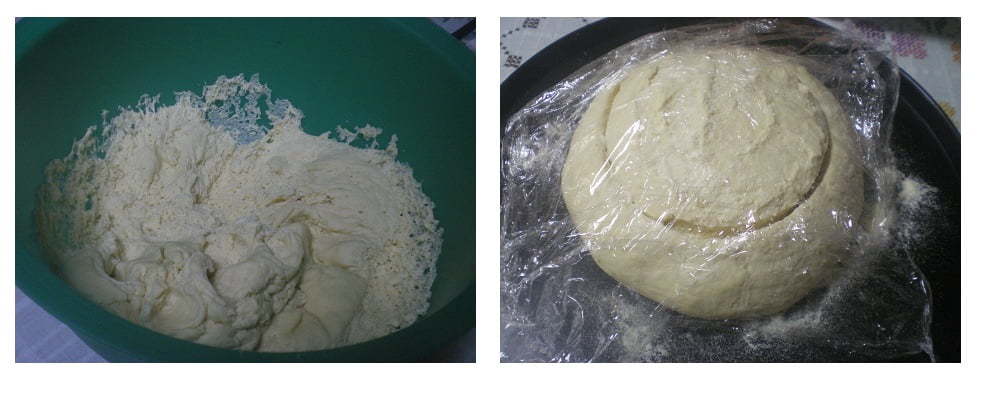
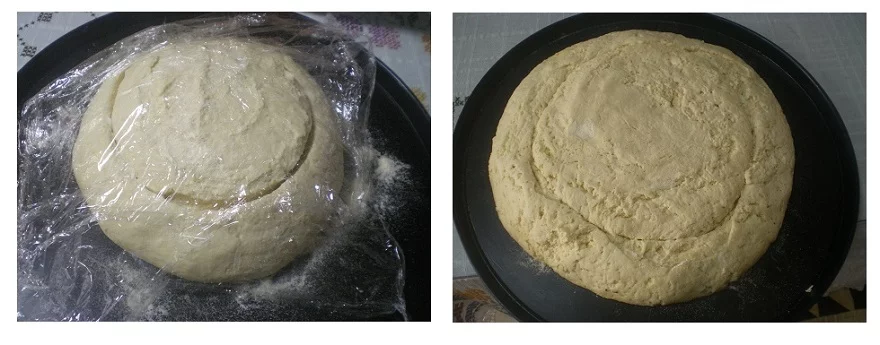
| Day 10 Bread Baking Day | The bread has risen but when I kneaded it, it was very sticky on the hands. I added more bread flour until it did not stick. I sprinkled some flour on a baking tin and put the dough. I washed my hands and while they were wet, I patted the dough and made it smooth on top. I then sprinkled a little bit of flour and scored a round circle about an inch from the edge and covered it with cling film and a napkin and set is aside to rise again. |
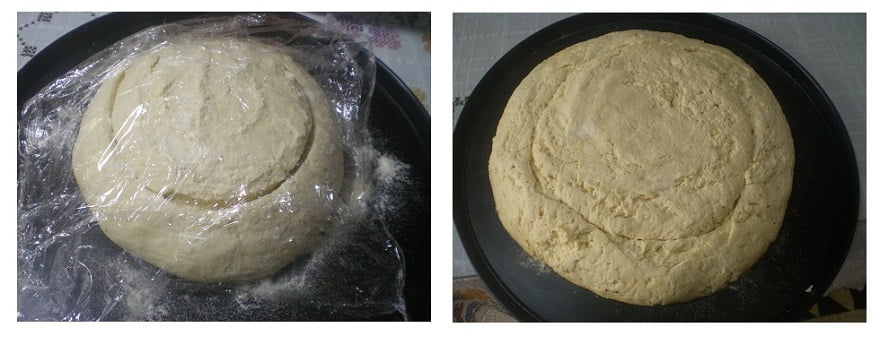
| After rising | I wet my hands again, patted it on top to make the dough even from the bubbles and scored on the previous line. I preheated the oven to 200 degrees C / 400 F and when putting in the bread, reduced the temperature to 150 degrees C / 300 F and baked the bread for 45 minutes. |
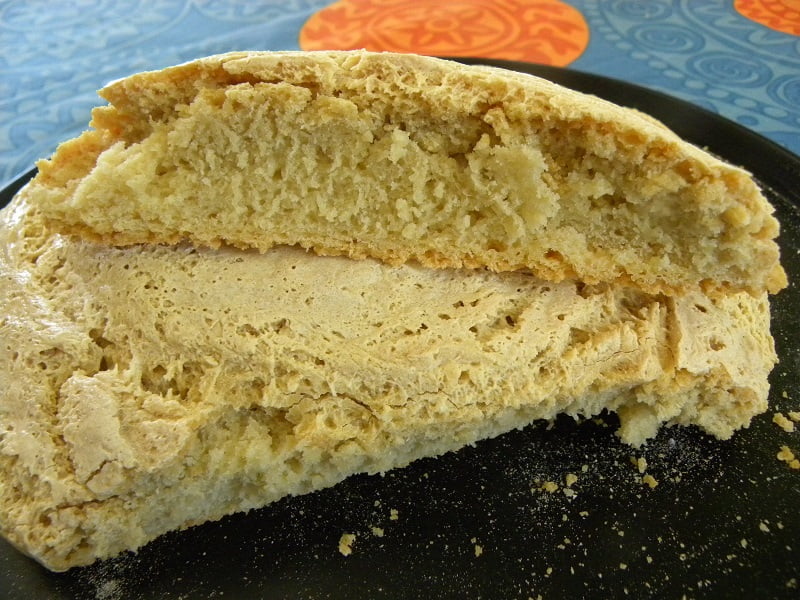
| Conclusion | The bread was a failure although it tasted very good! I had a small problem baking it as my oven’s door does not close properly and we were in a hurry to leave. The second attempt was perfect. After reading some posts, I baked the bread at a higher temperature. I also added some water and ice in a baking tin underneath the bread to create some steam. The house smelled wonderful and the taste of the bread was amazing, without the sourness of yeast. . |
Procedure for Day 1

Update: 3rd June, Phase 2
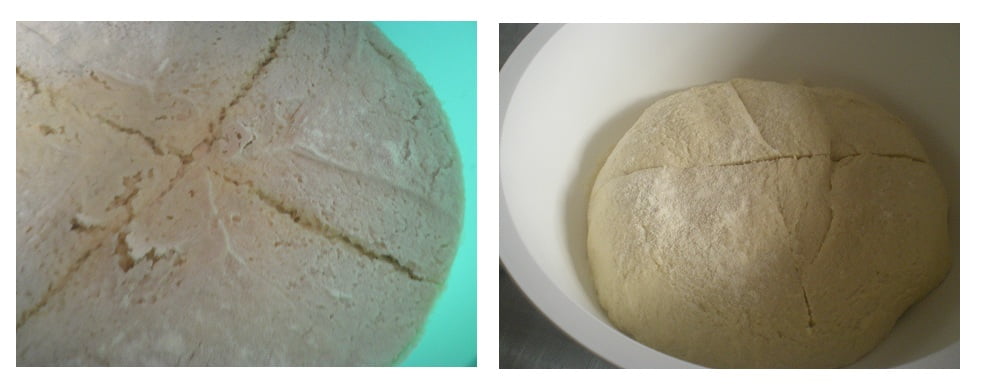
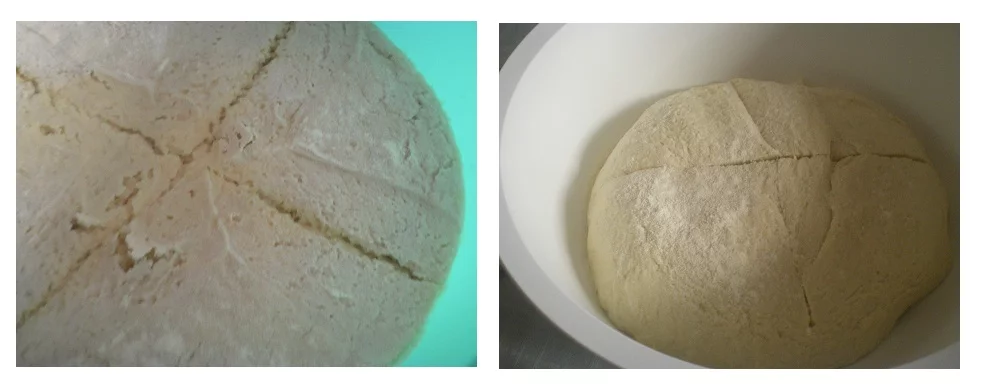
As you may see from the first image of the collage, the dough is beginning to ferment. You can see that the carving of the cross has widened by nearly 2 – 3 cm / 1 inch.

Update 5th June, Phase 3
Update 6th June, Phase 4

Update 9th June, 10 a.m. Phase 5
Batter and dough

Update 9th June, 5.30 p.m. The dough has reacted but the batter has not yet risen.

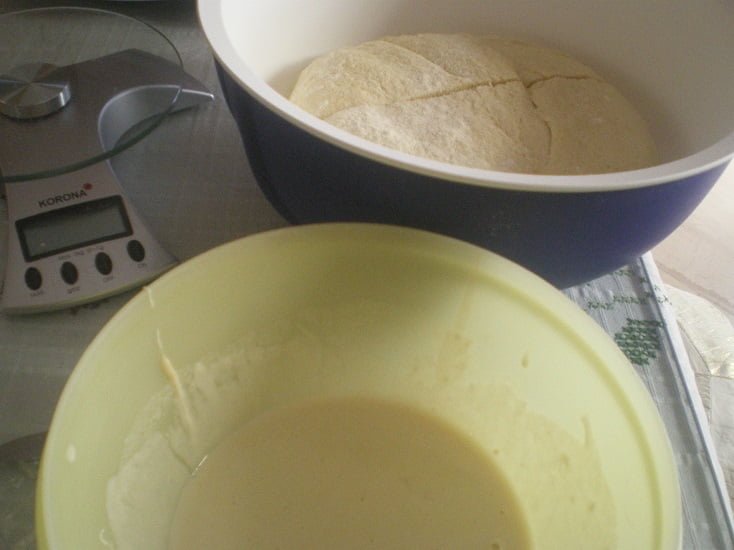
Divide starter into 10 equal parts. Use some to make bread and store the remaining in plastic bags in the deep freezer.
Note:
When using the frozen starter, allow 2-3 days for the starter to thaw properly and become active again.
During this time, be sure to feed the starter to give it a good jump start.

Update 10th June, Final Phase

Ready for Baking
Bread Failure!!

The bread was not a great success for various reasons:
I did not leave the dough to rise as long as it should, as I had to do it in a haste as we had to leave from Athens and go to Sparta, unexpectedly.
Secondly, I baked the bread at a lower temperature.
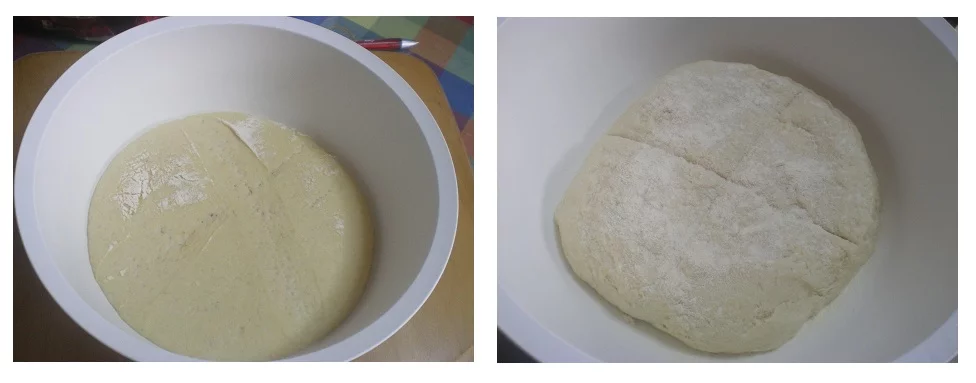
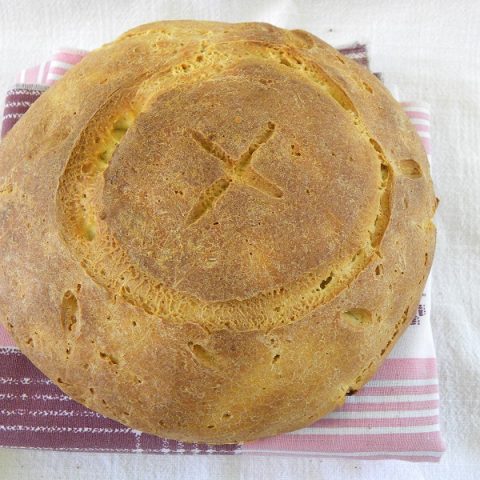
As you can see from the last picture, the second time it came out perfect.
Second attempt:
I defrosted two pieces of “prozymi” and I repeated the procedure again, the same way I made it the first time but this time I did it right.
Before making the bread, I fed it for a couple of days until it became active again.
This time I baked the bread at 200 degrees C / 400 F, for about 35 minutes.
The cross sign on top does not have any religious meaning but just added it with some scores below the circle, just to make a different pattern. I made just one bread and with the remaining sourdough I made a pizza.


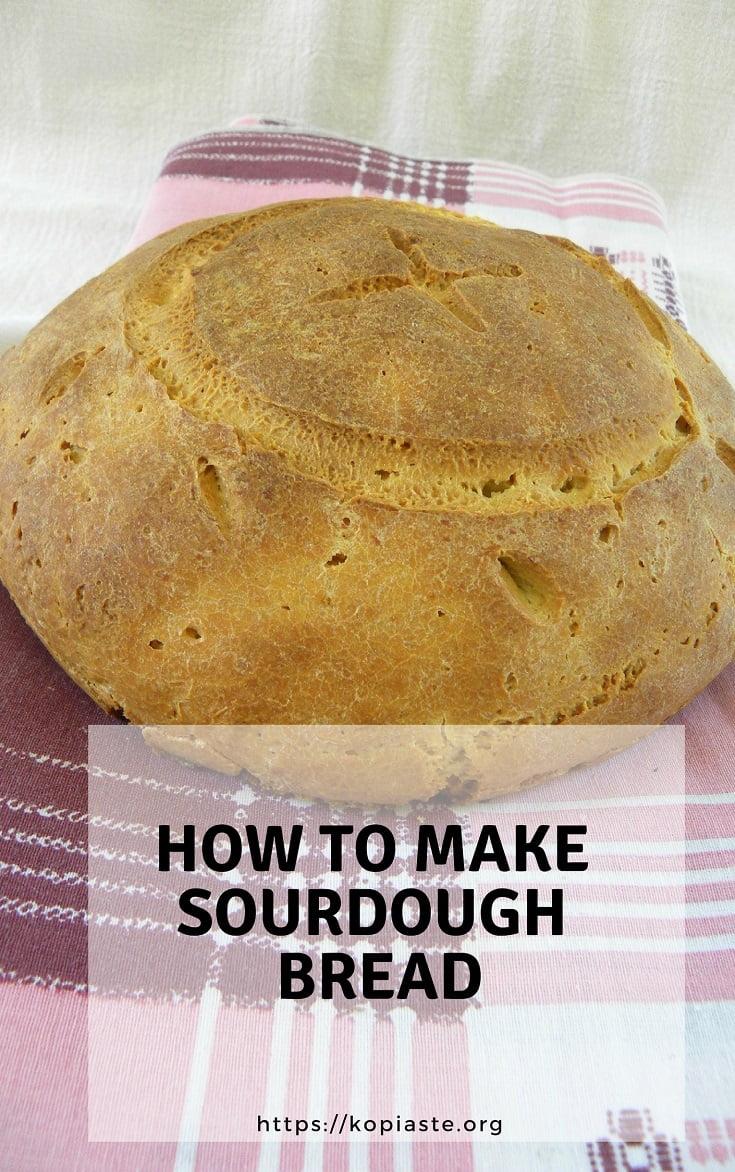
Zymoto Psomi (Cypriot Sourdough Rustic Bread)
There's nothing more satisfying than making your own bread. Learn how to make the sourdough starter and you will have the best bread ever!
Ingredients
- 250 grams prozymi (sourdough starter)
- 2 tbsp olive oil
- 1 kilo bread flour
- 2 tsp salt
- 2 tsp sugar
- Lukewarm water (about 2 1/2 cups or 600 ml)
Instructions
- Attach the dough hook to your stand mixer.
- Put the sourdough, oive oil, lukewar water, salt and sugar in your mixer bowl and mix on low speed until they are combined.
- Add the flour gradually and mix until dough does not stick on your hands or mixer bowl. Cover with a napkin and set aside until it rises and doubles in volume.
- Punch the dough to deflate and on your working surface knead it for a few minutes. Make it into two round balls.
- Dust your baking tin with flour and place the bread.
- Wet your hands and pat on top to make the dough even and score as you like.
- Preheat the oven to 200 degrees C / 400 F.
- Put a few ice cubes or cold water into a baking tin and place in the bottom of the oven to create steam.
- Bake for about 35 - 40 minutes, or until a good crust has formed and the loaves sound hollow when tapped on the base.
Notes
- If using frozen starter, it's best to allow 2-3 days for the starter to warm up and become active again. During this time, be sure to feed the starter to give it a good jump start.
- My oven door does not close properly, so the time mentioned, is just indicative Leave it until it has a wonderful golden colour on top
- If you do not have a stand mixer with a hook, you can certainly make the dough by hand by kneading it with your fists It will take more time and effort.
- If you do not want to make your own starter, you can use fresh or dried yeast but the taste will not be the same For 1 kilo flour use 50 grams fresh yeast or 2 sachets (about 16 - 18 grams dried yeast)
Nutrition Information
Yield 2 Serving Size 1Amount Per Serving Calories 1821Total Fat 8gSaturated Fat 1gTrans Fat 0gUnsaturated Fat 4gCholesterol 0mgSodium 2341mgCarbohydrates 367gFiber 12gSugar 6gProtein 60g
PIN FOR LATER

Kopiaste and Kali Orexi!


Jane
Tuesday 24th of March 2015
I'm glad your experiment with the rustic bread was so successful! One of my friends has an outdoor oven built into a brick area in her back yard. I've enjoyed fresh pizza from it on summer evenings. An oven like that would be a nice thing to have!
anonymous
Monday 10th of November 2014
Hi there! I began making this starter three days ago now, and I have noticed that the top of my starter always dries out and becomes like a crust on top of the rest of the starter. I have been scraping off this crust and counting it as part of the discard for the day, but do you think that this is a sign that I am keeping the starter in too warm a location? I have been keeping it in the oven with the light on, and it does get rather warm in there. Perhaps I should find a slightly less warm place to keep it, or is this crust okay? Thank you!
Ivy Liacopoulou
Monday 10th of November 2014
Hello! Covering your starter with plastic wrap or covering your container with a lid or plate should prevent it from drying out. It should stay moist and not develop a crust.
Maria
Monday 10th of November 2014
Thanks so much Ivy for this recipe! This has to be the easiest and fastest way to make bread dough. It's also now my favorite way to make bread dough—and a decent loaf or boule of bread!
We Are Cyprus
Wednesday 4th of July 2012
Your bread looks absolutely lovely, I'd love an outdoor oven.
Mary
Saturday 30th of June 2012
With my new job at the summer Camp it doesn't leave much time to visit, but I will try this bread for sure during the weekend!